Crafting Spring One Inchie at a Time
Posted on February 27th, 2018
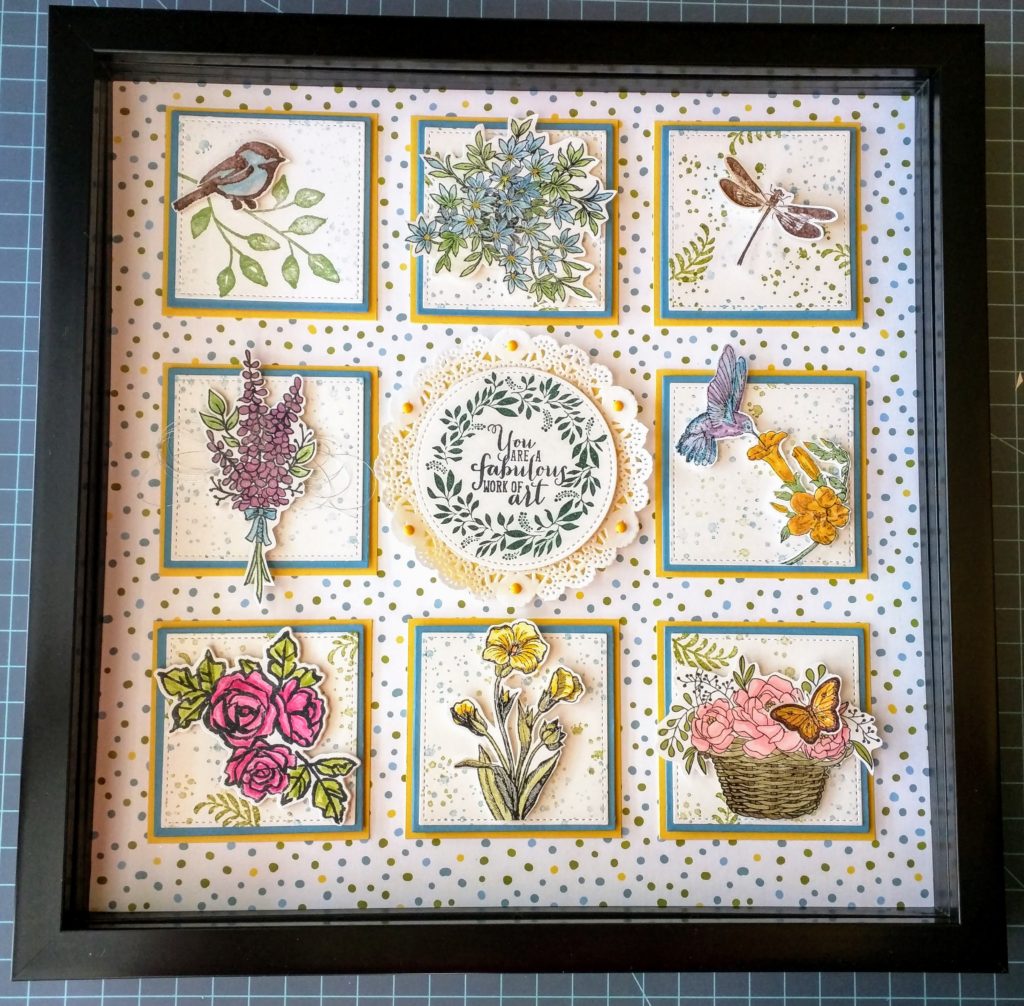
Framed 12″ x 12″ Spring Inchie Art
Are you as anxious for spring as I am? Once the Christmas decorations are packed away, I’m yearning for warmer weather. If I had to live in some place like Alaska, I would probably go into decline! To combat the winter blues, I have spent the last few weeks stamping and coloring Inchies, little squares stamped with beautiful Stampin’ Up! flowers to remind myself that winter is nearly over where we live.
This is the third framed “Inchie art” that I’ve created in the last two months. As I’ve noted before, these Inchies are a great way to play around with stamps and different techniques. If something doesn’t work out well, a three inch square is easier to discard than an entire card! If you compare the work in progress at this link, you will see a few changes I made when I thought I was nearly finished.
I chose the color scheme (Old Olive, Daffodil Delight, & Marina Mist) based on the 12″ sheet of Designer Series Paper from the Occasions catalog that I used as the background. You may not recognize it right away, as it is the back of one of the gorgeous foil embossed sheets from the Sweet Soiree DSP. I used one of these sheets for the bags I made in my YouTube video on making treat bags from DSP with the Gift Bag Punch Board. I might have overlooked this happy print myself had I not made those bags. Those cheerful dots seemed the perfect fit for spring.
It’s hard to see in the photos, but I attached the Daffodil Delight mats to the background DSP with Fast Fuse. Once those were attached, It was simple to attach the squares (matted with Marina Mist) using Stampin’ Dimensionals to create depth. Each of the stamped pieces is also attached with Stampin’ Dimensionals. I love the mini sized ones for those thinner bits…much easier than trying to snip a larger dimensional in half. Another feature that doesn’t show up well in the photos is the clear Wink of Stella I brushed onto the hummingbird, lilac stalk, and the blue flowers. The frame catches good light on the wall of my craft area where it’s hanging though, and so the little hummer’s wings look iridescent. (Love that Wink of Stella!)
If you haven’t made any Inchie art, give it a try! You could start small with less squares, but if you enjoy playing with stamps and paper, I expect yours will grow to a 12″x 12″ as mine did.
The depth and details are easier to see in the picture below.
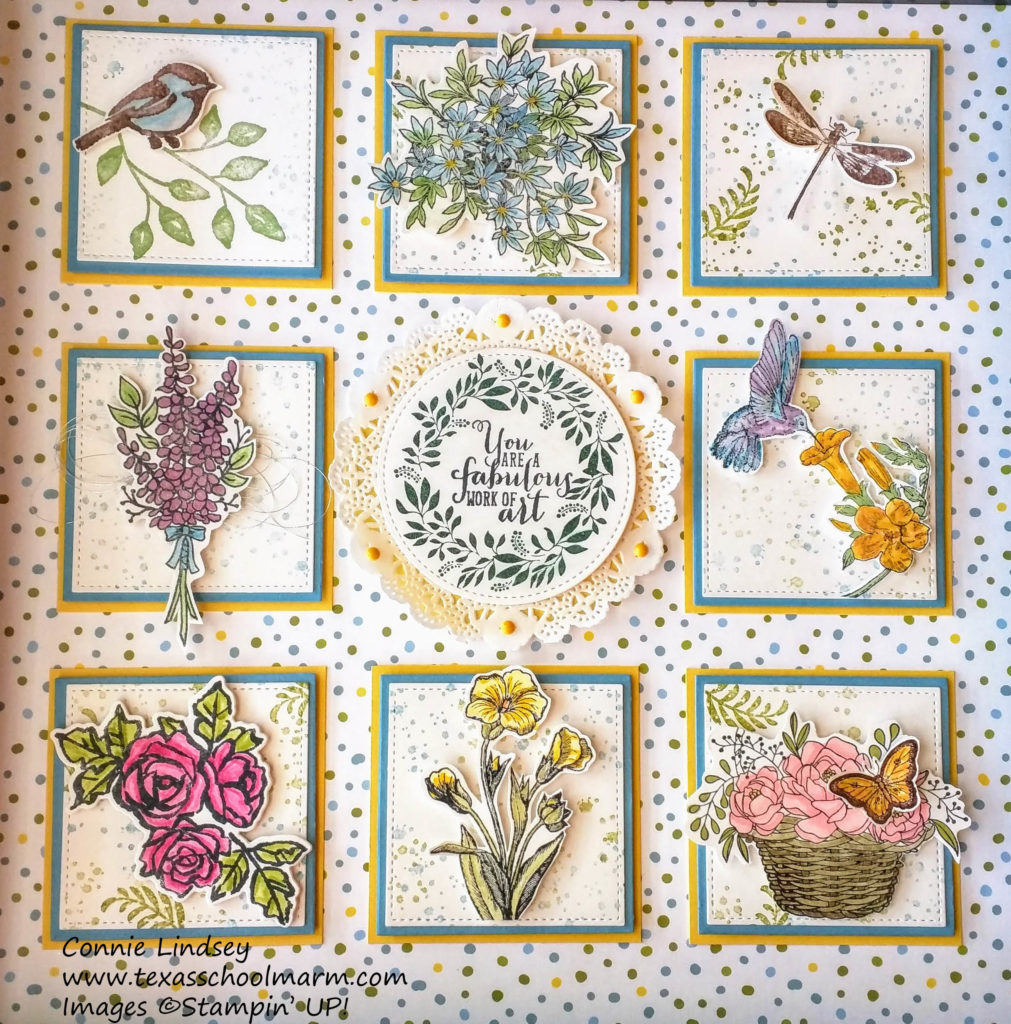
Below are the individual “inchies” with the name of the stamp set used underneath them. All sets are current with the exception of the butterfly resting on the flower basket and the hummingbird (my first Stampin’ Up! stamp that I’ll keep always!) If you like the Lilac stalk and the Blossoming Basket of flowers, act fast. These two stamp sets are only available through March 31st. They are each free with a $50. order. Of course, I’d be thrilled if you used me as your demonstrator. Just click on the basket at the top of the right column to travel directly to my online store. Leave a comment if you have any questions, and I’ll be happy to help you. Thanks for stopping by!
Petal Palette
Awesomely Artistic
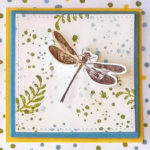
Awesomely Artistic
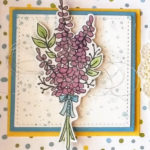
Lots of Lavender
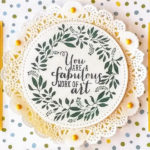
Work of Art
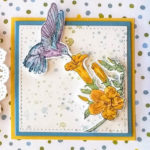
Spring Song: my FIRST Stampin’ Up! stamp set!
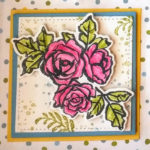
Petal Palette
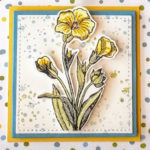
Butterfly Basics
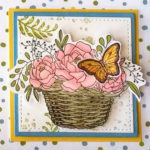
Blossoming Basket & Papillon Potpourri
